

How to Buy an IPTV Subscription: A Step-by-Step Guide
Buying an IPTV subscription can feel intimidating at first—so many providers, packages, and technical terms. Don’t worry, I’m here to walk you through it like you’re holding the remote in your hand. Think of it like organizing your playlists or setting up a new gaming console: a few clicks and you’re ready to go.
Step 1: Understand What IPTV Is
Before you buy, it helps to know what you’re signing up for. IPTV (Internet Protocol Television) streams live TV and on-demand content over the internet, bypassing traditional cable or satellite.
Analogy: Think of IPTV channels like folders on your computer. Each “folder” contains a set of shows, movies, or live streams. You can hop between folders instantly without worrying about physical cables.
Tip: Check out ForceIPTV for a clear overview of packages and channels—they lay it out nicely.
Step 2: Decide What You Want
Not all IPTV packages are created equal. Ask yourself:
-
Do I want sports, movies, news, or international channels?
-
How many devices will stream at the same time?
-
Am I looking for HD/4K quality?
Tip: List your “must-have channels” like a shopping list. This keeps you focused and avoids overspending on extras you won’t use.
Step 3: Choose a Provider
Here’s where it gets real. There are many providers, so look for:
-
Reliability and uptime
-
Variety of channels
-
Device compatibility (smart TV, Android box, tablet, phone)
-
Customer support
Analogy: Picking an IPTV provider is like choosing a coffee shop. You could go cheap, fancy, or somewhere in between—but make sure it serves exactly the “flavor” you love.
ForceIPTV has region-specific packages that are easy to compare.
Watch-out lesson: Avoid shady services that promise “every channel for $5.” They might disappear overnight—or worse, be illegal. Stick to trusted providers.
Step 4: Select a Package
Once you’ve picked a provider, pick a package. Packages differ in:
-
Number of channels
-
Streaming quality (HD or 4K)
-
Number of simultaneous connections
Analogy: Think of packages like toppings on a pizza. Some want basic cheese (essential channels), others go full deluxe (sports, movies, kids’ shows). Pick the one that satisfies your appetite.
Step 5: Make the Purchase
Most providers accept:
-
Credit/debit cards
-
PayPal or other online wallets
-
Sometimes crypto or bank transfer
Tip box: Always double-check the subscription period. Monthly plans are flexible; yearly plans can save money—but make sure you’re happy with the service first.
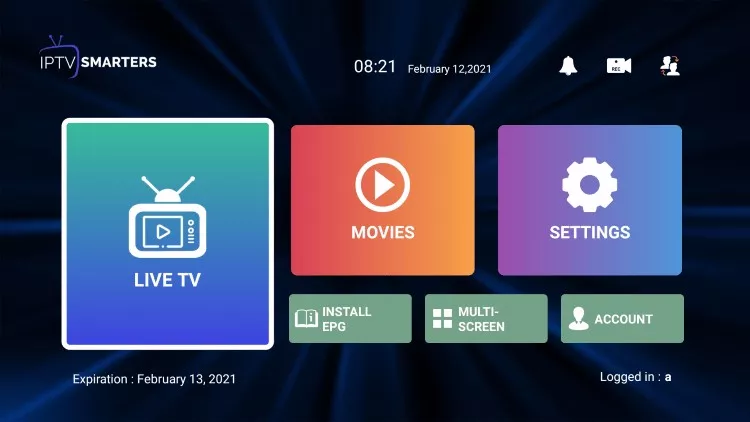
Step 6: Set Up Your IPTV
After payment, you’ll get:
-
Login credentials
-
Instructions for your device
-
Sometimes a URL for the IPTV playlist (M3U or similar)
Step-by-step:
-
Open your IPTV app on your device.
-
Enter the provided credentials or playlist URL.
-
Wait a few seconds while channels load.
-
Navigate through channels like flipping folders in a playlist.
Analogy: It’s like adding a new library to Spotify—you’re connecting to a whole collection of content ready to stream.
Step 7: Test and Customize
-
Test a few channels to make sure streaming quality is smooth.
-
Organize favorites, so you don’t scroll endlessly.
-
Check parental controls if you have kids.
Watch-out lesson: Some channels may lag during peak hours. If so, check with your provider—they often have alternative servers or tips to improve buffering.
Step 8: Enjoy Your IPTV
Now comes the fun part. Binge your favorite shows, catch live sports, or explore international channels—all without worrying about cable boxes or confusing contracts.
Pro tip: Bookmark your “must-watch” playlists. It saves time and makes your viewing experience smoother.